자바 코딩 자율학습단 14기 3주차 학습 후기
2주차에 이어, 3주차에는 객체지향 프로그래밍의 핵심 개념들과 오류 처리 방법에 대해서 학습하며 자바 프로그래밍이 어떤 것인지 좀더 구체적으로 알수 있는 시간이였습니다. 3주차, 11일에서 15일까지의 학습 내용을 상세히 정리하며 아래에 한주간의 학습한 것들을 정리해 보려고 합니다.
11일차 : 클래스
package ch07;

public class Car {
    // 클래스 변수
    static int countOfCars = 0;

    // 인스턴스 변수
    String brand;   // 브랜드
    int year;       // 연식
    private int maxSpeed;

    // 기본 생성자
    public Car() {
        this("브랜드", 2024, 180);
        System.out.println("새로운 자동차 객체가 생성됐습니다.");
    }

    public Car(String brand, int year) {
        this(brand, year, 200);
        System.out.println(brand + " 브랜드, " + year + "년식 Car 객체 생성");
    }

    public Car(String brand, int year, int maxSpeed) {
        this.brand = brand;
        this.year = year;
        this.maxSpeed = maxSpeed;
        countOfCars++;
        System.out.println(brand + " (" + year + ") 최고 속도: " + maxSpeed + " Car 객체 생성 (총 " + countOfCars + "대)");
    }

    public void carInfo() {
        System.out.println("브랜드: " + brand + ", 연식: " + year + ", 최고 속도: " + getMaxSpeed());
    }

    public int getMaxSpeed() {
        return maxSpeed;
    }

    public void setMaxSpeed(int maxSpeed) {
        if (maxSpeed > 0 && maxSpeed <= 300) {
            this.maxSpeed = maxSpeed;
            System.out.println(brand + "의 최고 속도가 " + maxSpeed + "으로 변경되었습니다.");
        } else {
            System.out.println("유효하지 않은 최고 속도입니다.");
        }
    }

    public static void countOfCarsInfo() {
        System.out.println("자동차 수량:  " + countOfCars);
    }

    public static void main(String[] args) {
        Car myCar = new Car();
        Car yourCar = new Car("Hyundai", 2025);
        Car theirCar = new Car("Kia", 2025, 280);

        myCar.carInfo();
        yourCar.carInfo();
        theirCar.carInfo();

        theirCar.setMaxSpeed(320);
        theirCar.setMaxSpeed(290);

        Car.countOfCarsInfo();
    }
}
11일차에는 전날 학습한 자바 클래스에 대해서 심화과정으로 클래스 레벨에서 공유되는 static멤버를 통해 객체들이 함께 사용하는 데이터나 기능을 다루는 방법을 익혔습니다. 데이터 보호를 위한 접근 제한자(public, protected, default, private)의 종류와 각각의 접근 범위를 이해했으며, 접근이 제한된 필드에 안전하게 접근하기 위해 게터(getter)와 세터(setter)를 활용하는 방법을 배웠습니다.
12일차 : 상속과 다형성 (상속, 다형성)
package ch08;

class Animal {
    String name;
    int age;

    public Animal(String name, int age) {
        this.name = name;
        this.age = age;
    }

    public void eat() {
        System.out.println(name + "가 밥을 먹습니다.");
    }
}


class Dog extends Animal {
    String breed;

    public Dog(String name, int age, String breed) {
        super(name, age);
        this.breed = breed;
    }

    public void roll() {
        System.out.println(name + "가 바닥을 구릅니다.");
    }

    public void roll(int times) {
        System.out.println(name + "가 바닥을 " + times + "번 구릅니다.");
    }
}


class Cat extends Animal {
    public Cat(String name, int age) {
        super(name, age);
    }

    @Override
    public void eat() {
        System.out.println(name + "가 닭고기를 먹습니다.");
    }

    public void rub() {
        System.out.println(name + "가 몸을 비빕니다.");
    }
}


public class Main {
    public static void main(String[] args) {
        Dog myDog = new Dog("바둑이", 3, "진돗개");
        Cat myCat = new Cat("나비", 2);

        System.out.println(myDog.name + "는 " + myDog.breed + "이고, " + myDog.age + "살입니다.");
        System.out.println(myCat.name + "는 " + myCat.age + "살입니다.");

        myDog.eat();
        myDog.roll();
        myDog.roll(2);
        myCat.eat();
        myCat.rub();
    }
}
12일차에는 객체지향 프로그래밍의 상속과 다형성에 대해서 학습했습니다. Animal 클래스를 만들고, Dog와 Cat클래스가 Animal을 상속받아 name, age필드와 eat()메소드를 물려받는 것을 확인했습니다. 자식 클래스의 생성자에서 super()를 사용해 부모 클래스에 접근하는 방법도 익혔습니다.
특히 Cat 클래스는 부모의 eat() 메소드를 자신에게 맞게 오버라이딩했고, Dog 클래스는 roll()이라는 자신만의 고유 메소드를 가지며, 같은 이름으로 여러 기능을 수행하는 오버로딩 예제도 실습했습니다. 이처럼 상속을 통해 코드를 재사용하면서도 자식 클래스에서 고유한 기능 추가나 수정이 가능함을 배웠습니다.
13일차 : 상속과 다형성 (추상클래스)
package ch08_abstract;

public abstract class BankAccount {
    // 필드
    String accountNumber;   // 계좌 번호
    double balance; // 잔액
    // 생성자
    public BankAccount(String accountNumber, double initialBalance) {
        this.accountNumber = accountNumber;
        this.balance = initialBalance;
    }
    // 추상 메소드(입출금 메소드)
    public abstract void withdraw(double amount);
    public abstract void deposit(double amount);
    // 계좌 정보 출력 메소드
    public void displayAccountInfo() {
        System.out.println("계좌 번호: " + accountNumber);
        System.out.println("잔액: " + balance + "원");
    }
}


class CheckingAccount extends BankAccount {
    // 생성자
    public CheckingAccount(String accountNumber, double initialBalance) {
        super(accountNumber, initialBalance);
    }

    // 오버라이딩해서 추상 메소드 구현(출금 메소드)
    @Override
    public void withdraw(double amount) {
        if (amount > 0 && balance >= amount) {
            balance -= amount;
            System.out.println(amount + "원이 출금됐습니다.");
            System.out.println("현재 잔액: " + balance + "원");
        } else {
            System.out.println("잔액이 부족해 출금할 수 없습니다.");
        }
    }
    // 오버라이딩해서 추상 메소드 구현(입금 메소드)
    @Override
    public void deposit(double amount) {
        if (amount > 0) {
            balance += amount;
            System.out.println(amount + "원이 입금됐습니다.");
            System.out.println("잔액: " + balance + "원");
        } else {
            System.out.println("입금액은 0보다 커야 합니다.");
        }
    }
}


public class Main {
    public static void main(String[] args) {
        // 입출금 계좌 객체 생성
        CheckingAccount myChecking = new CheckingAccount("123-4567890", 100000);
        myChecking.displayAccountInfo();    // 계좌 정보 출력
        myChecking.withdraw(100000);    // 출금
        myChecking.deposit(50000);      // 입금
    }
}
13일차에는 자바의 추상 클래스를 학습했습니다. BankAccount 추상 클래스를 통해 계좌의 공통 필드와 withdraw(출금), deposit(입금) 같은 추상 메소드를 정의했습니다. 추상 클래스는 미완성 설계도로, 이를 상속받는 CheckingAccount 클래스가 추상 메소드를 반드시 구현하도록 강제합니다. 이를 통해 코드의 일관성을 유지하고, 자식 클래스에 특정 기능 구현을 위임하는 객체 지향 설계를 할 수 있음을 배웠습니다.
14일차 : 상속과 다형성 (인터페이스)
package ch08_interface;

public interface BankAccount {
    void withdraw(double amount);       // 입금 메소드
    void deposit(double amount);        // 출금 메소드
    void displayAccountInfo();          // 계좌 정보 출력 메소드
}


public interface InterestBearing {
    void addInterest();     // 이자 계산 메소드
}


public class CheckingAccount implements BankAccount, InterestBearing {
    // 필드
    String accountNumber;       // 계좌 번호
    double balance;     // 잔액
    double interestRate;        // 이자율
    // 생성자
    public CheckingAccount(String accountNumber, double initialBalance, double interestRate) {
        this.accountNumber = accountNumber;
        this.balance = initialBalance;
        this.interestRate = interestRate;       // 이자율 초기화
    }
    // 입금 메소드 구현
    public void deposit(double amount) {
        if (amount > 0) {
            balance += amount;
            System.out.println(amount + "원이 입금됐습니다.");
            System.out.println("잔액: " + balance + "원");
        } else {
            System.out.println("입금액은 0보다 커야 합니다.");
        }
    }
    // 출금 메소드 구현
    public void withdraw(double amount) {
        if (amount > 0 && balance >= amount) {
            balance -= amount;
            System.out.println(amount + "원이 출금됐습니다.");
            System.out.println("현재 잔액: " + balance + "원");
        } else {
            System.out.println("잔액이 부족해 출금할 수 없습니다.");
        }
    }
    // 계좌 정보 출력 메소드 구현
    public void displayAccountInfo() {
        System.out.println("계좌 번호: " + accountNumber);
        System.out.println("잔액: " + balance + "원");
        System.out.println("이자율: " + (interestRate * 100) + "%");
    }
    // 이자 계산 메소드 구현
    public void addInterest() {
        double interest = balance + interestRate;
        balance += interest;
        System.out.println("이자 " + interest + "원이 추가됐습니다.");
    }
}


public class Main {
    public static void main(String[] args) {
        // 입출금 계좌 객체 생성
        CheckingAccount myChecking = new CheckingAccount("123-4567890", 100000, 0.02);
        myChecking.displayAccountInfo();
        myChecking.withdraw(100000);    // 출금
        myChecking.deposit(50000);      // 입금
        myChecking.addInterest();       // 이자 계산 및 추가
        myChecking.displayAccountInfo();
    }
}
14일차에는 자바의 인터페이스를 학습했습니다. BankAccount와 InterestBearing처럼 인터페이스는 객체가 가져야 할 기능(메소드)들의 뼈대만 정의하는 규약입니다. CheckingAccount 클래스가 이 인터페이스를 ‘구현(implements)’함으로써 계좌 기능과 이자 계산 기능을 모두 갖게 됩니다.
인터페이스는 클래스가 여러 역할을 수행하도록 유연하게 설계할 수 있게 해주는 강력한 도구임을 배웠습니다.
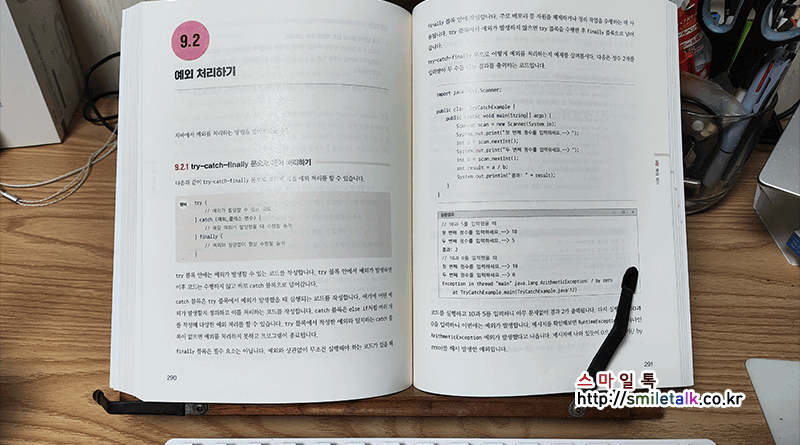
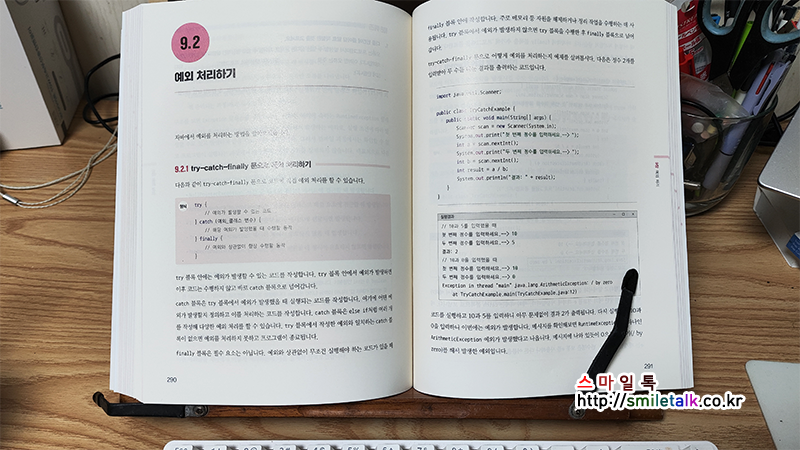
15일차 : 예외 처리
package ch09;

import java.util.Scanner;
import java.io.BufferedReader;
import java.io.File;
import java.io.FileReader;
import java.io.IOException;

public class TryCatchExample{
    public static void main(String[] args) {
        Scanner scanner = new Scanner(System.in);
        System.out.print("첫 번째 정수를 입력하세요.--> ");
        int a = scanner.nextInt();
        System.out.print("두 번째 정수를 입력하세요.--> ");
        int b = scanner.nextInt();
        try {
            if (b == 3) {
                throw new ArithmeticException("3으로 나눌 수 없습니다.");
            }
            int result = a / b;
            System.out.println("결과: " + result);
        } catch (ArithmeticException e) {
            System.out.println(e.getMessage());
        } finally {
            System.out.println("프로그램을 종료합니다.");
        }

        System.out.println();

        try {
            readFile("C:/example.txt"); // 파일 읽기 메소드 호출
        } catch (IOException e) {
            System.out.println(e);
        } finally {
            System.out.println("프로그램을 종료합니다.");
            scanner.close();
        }
    }

    private static void readFile(String filename) throws IOException {
        File file = new File(filename);
        BufferedReader reader = new BufferedReader(new FileReader((file)));
        String line = reader.readLine();
        while (line != null) {
            System.out.println(line);
            line = reader.readLine();
        }
        reader.close();
    }
}
15일차에는 자바에서 발생하는 오류와 예외의 개념을 이해하고, try-catch-finally 블록을 이용한 기본 적인 예외 처리 방법을 학습했습니다. TryCatchExample 코드를 통해 ArithmeticException이 발생할수 있는 상황에서 try 블록으로 위험한 코드를 감싸고, catch 블록에서 예외를 처리하는 방법을 익혔습니다. 특히 조건에서 throw 키워드를 사용하여 의도적으로 예외를 발생시키는 방법을 통해 예외 흐름을 제어하는 것을 확인했습니다. finally 블록은 예외 발생 여부와 상관없이 항상 실행되어 프로그램 종료와 같은 마무리 작업을 수행하는 데 유용함을 알게 되었습니ㅏㄷ.
ThrowsExmaple 코드를 통해서는 메소드 내에서 발생할 수 있는 IOException을 직접 처리하는 대신, throws 키워드를 사용하여 호출한 곳으로 예외 처리를 위임하는 방법을 배웠습니다. checked exception인 IOException은 반드시 예외 처리를 해주어야 컴파일 에러가 발생하지 않는 다는 점을 강조합니다. 이러한 예외 처리 메커니즘을 통해 프로그램의 안정성을 높이고 예상치 못한 오류 발생 시에는 정상적으로 종료하거나 적절한 복구 작업을 수행할 수 있도록 하는 것이 중요함을 알게되었습니다.
3주차 마무리
3주차 학습을 통해 객체 지향 프로그래밍의 핵심 원리인 상속, 다형성, 추상클래스, 인터페이스를 깊이 있게 이해하고 활용하는 방법을 익혔습니다. 또한 프로그램의 안정성을 높이는 필수적인 오류와 예외 처리 메커니즘을 학습하며 더욱 견고한 코드를 작성할 수 있는 능력을 키웠습니다.
상속을 통해 코드의 재사용성을 높이고 클래스 간의 관계를 명확하게 설정하는 방법을 배웠으며, 다형성을 통해 유연하고 확장 가능한 프로그램을 설계할 수 있음을 확인했습니다. 추상 클래스와 인터페이스를 통해 공통 설계를 정의하고 하위 클래스에 구현을 강제함으로써 코드의 일관성을 유지하고 유지보수를 용이하게 하는 방법을 익혔습니다. 마지막으로, 예외 처리를 통해 발생 가능한 오류에 대비하고 프로그램이 비정상적으로 종료되는 것을 방지하는 중요성을 깨달았습니다.
